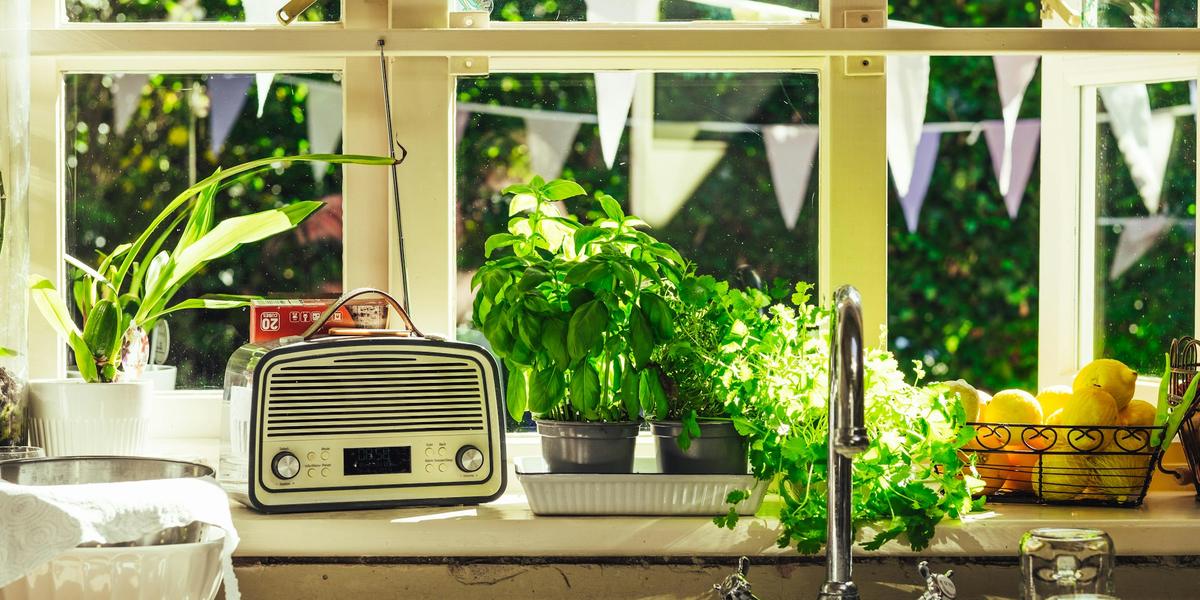
Balcony and Window Hydroponics for Small Spaces
This post may contain affiliate links. As an Amazon Associate I earn from qualifying purchases.
You do not need a yard to grow your own food. A balcony, a patio, or a windowsill can be enough for a steady supply of greens and herbs. Hydroponics fits these small spaces especially well because there is no soil to haul up stairs and no mess on the floor. Here is how to make it work.
Windowsill basics
A bright window is your free grow light. In the northern hemisphere, south-facing windows usually get the most light, and east-facing windows get gentler morning sun. West-facing windows can get hot in the afternoon, which is something to watch in Texas.
- Line up a few mason jars on the sill.
- Use a tray underneath to catch drips.
- Turn jars every few days so plants do not lean too hard toward the glass.
- Watch for stretching; that means more light is needed.
Full jar instructions: Kratky lettuce in a mason jar.
Balcony basics
Balconies get more light than most indoor spots, but they also bring heat, wind, and rain. Each one needs a little planning.
Sun and heat
Direct afternoon sun can heat reservoirs quickly. UF/IFAS recommends keeping nutrient solution between about 65°F and 80°F for lettuce. To protect your water:
- Shade the reservoirs, even if the plants are in sun.
- Use bigger containers, which change temperature more slowly.
- Wrap containers with a reflective outer layer.
- Use shade cloth in the hottest months.
More ideas: keeping reservoirs cool in a Texas summer.
Wind
Wind can tip over containers and dry out plants. Group containers together, use low, wide totes instead of tall jars, and place them against a wall or railing that blocks wind. Make sure nothing can fall off the balcony.
Rain
University of Hawaii material on small outdoor hydroponic systems warns that rain getting into the nutrient solution can change its pH and EC. Keep reservoir lids snug, and consider a small overhang or cover. After heavy rain, check pH. See pH and EC/PPM explained.
Pests
Outdoor plants can attract insects. Check the undersides of leaves regularly. Catching a problem early makes it much easier to manage. If you choose to use any pest control product, follow the label exactly and make sure it is labeled for edible plants.
Best systems for balconies and windows
- Kratky jars: perfect for windowsills.
- Kratky totes: great on a balcony floor; more water means more stability.
- DWC bucket: good for basil on a patio with a nearby outdoor outlet. Use a GFCI outlet and keep cords protected from water.
- Small NFT channel: a more advanced option for a balcony wall, covered in the full book.
Check your lease or HOA rules
Before you set up on a balcony, check your lease or HOA rules about weight, water, and what can be on the railing. Water is heavy, so a full tote weighs a lot more than it looks. Keep heavy containers on the floor, near the wall, and avoid hanging them from railings.
Best crops for balconies and windows
- Loose-leaf lettuce for cool months
- Basil for warm months
- Green onions all year
- Bok choy and other small Asian greens
- Herbs like chives, mint, and parsley
More details in 5 easiest crops for first-timers.
Adding light indoors
If your window is not bright enough, a simple LED strip or shop light can supplement it. See choosing grow lights on a budget.
Keep it tidy
Use trays to catch drips, keep spare nutrients sealed and stored out of the sun, and clean containers between grows. A tidy setup is easier to keep going, and your neighbors will appreciate it too.
Get started
All the gear I recommend for small-space growing is on my Gear page. Download the free mini-guide on the home page, and when you are ready for more, the full book, The Soil-Free Farming Revolution, covers balcony setups in detail.
A simple balcony checklist
Before you fill your first container outdoors, run through a short checklist. Is the spot shaded in the afternoon, or can you add shade? Is the container opaque, with a lid that will not blow off? Is it sitting on the floor, against a wall, and out of the way of foot traffic? Is there a tray or mat underneath so drips do not stain the balcony or drip onto the neighbors below? If you are using a pump, is the cord protected and plugged into a GFCI outlet? Do you have a thermometer to check the water on hot afternoons? Answering these questions up front saves a lot of cleanup later.
Most of all, start with one or two containers. A small win on a balcony teaches you how sun, wind, and heat behave in your exact spot, and that knowledge is worth more than any gadget.